I’ve been making these raspberry thumbprint cookies every holiday season for years, and they never fail to disappear within hours! The combination of buttery, melt-in-your-mouth dough with a hint of almond extract and sweet-tart raspberry jam in the center is absolutely irresistible. Trust me, once you see how easy these are to make, they’ll become a regular in your baking rotation too.

| Preparation Time | 20-30 minutes |
| Cooking Time | 10-15 minutes |
| Total Time | 30-45 minutes |
| Level of Difficulty | Medium |
| Servings | 36 cookies |
Estimated Nutrition
Estimated nutrition for the whole recipe (without optional ingredients):
- Calories: 2650-2800
- Protein: 25-30 g
- Fat: 160-175 g
- Carbohydrates: 310-330 g
Ingredients
For the dough:
- 1 cup unsalted butter, softened
- 3/4 cup granulated white sugar
- 2 large egg yolks, room temperature
- 1 1/2 teaspoons vanilla extract
- 1/4 teaspoon almond extract
- 1/2 teaspoon fine sea salt
- 2 1/3 cups all-purpose flour
For the filling:
- 1/2 cup raspberry jam
- 1/2 teaspoon fresh lemon zest
Step 1: Cream Butter and Sugar for Fluffy Base
- 1 cup unsalted butter, softened
- 3/4 cup granulated white sugar
Preheat your oven to 350°F and line baking sheets with parchment paper.
In a large bowl, beat the softened butter and granulated sugar together for 3-4 minutes until the mixture is light, fluffy, and pale in color.
This creaming process incorporates air into the dough, which helps create tender cookies with a delicate crumb structure.
Step 2: Incorporate Egg Yolks and Extracts
- 2 large egg yolks, room temperature
- 1 1/2 teaspoons vanilla extract
- 1/4 teaspoon almond extract
Add the room temperature egg yolks one at a time to the creamed mixture, beating well after each addition.
Pour in the vanilla extract and almond extract, then mix until everything is fully combined and the batter looks smooth and well-integrated.
Room temperature eggs emulsify better with the butter, creating a more cohesive dough.
Step 3: Mix Dry Ingredients and Form Dough
- 2 1/3 cups all-purpose flour
- 1/2 teaspoon fine sea salt
- wet mixture from Step 2
In a separate bowl, whisk together the all-purpose flour and fine sea salt.
Add the dry ingredient mixture to the wet ingredients from Step 2 and stir until just combined—don't overmix, as this can develop too much gluten and make the cookies tough.
I like to fold gently by hand for the last few turns to ensure I'm not working the dough more than necessary.
Step 4: Shape Dough and Create Indentations
- dough from Step 3
Roll the dough into balls about 1 inch in diameter and place them about 2 inches apart on the prepared baking sheets.
Using your thumb (or the back of a small spoon), press gently into the center of each ball to create a shallow well, being careful not to press all the way through to the bottom.
I find that slightly dampening my thumb helps prevent the dough from sticking.
Step 5: Fill with Jam and Bake
- 1/2 cup raspberry jam
- 1/2 teaspoon fresh lemon zest
Stir the lemon zest into the raspberry jam to brighten the flavor.
Spoon about 1 teaspoon of the jam mixture into each thumbprint indentation, being careful not to overfill as the jam will spread slightly during baking.
Bake for 12-15 minutes, until the cookies are set but still slightly soft, and the edges are just beginning to turn golden.
Step 6: Cool and Transfer
Remove the cookies from the oven and let them rest on the baking sheet for 10 minutes—this allows them to firm up enough to handle without breaking apart.
Transfer the cookies to a wire cooling rack to cool completely.
The residual heat on the pan will continue to set the cookies gently.
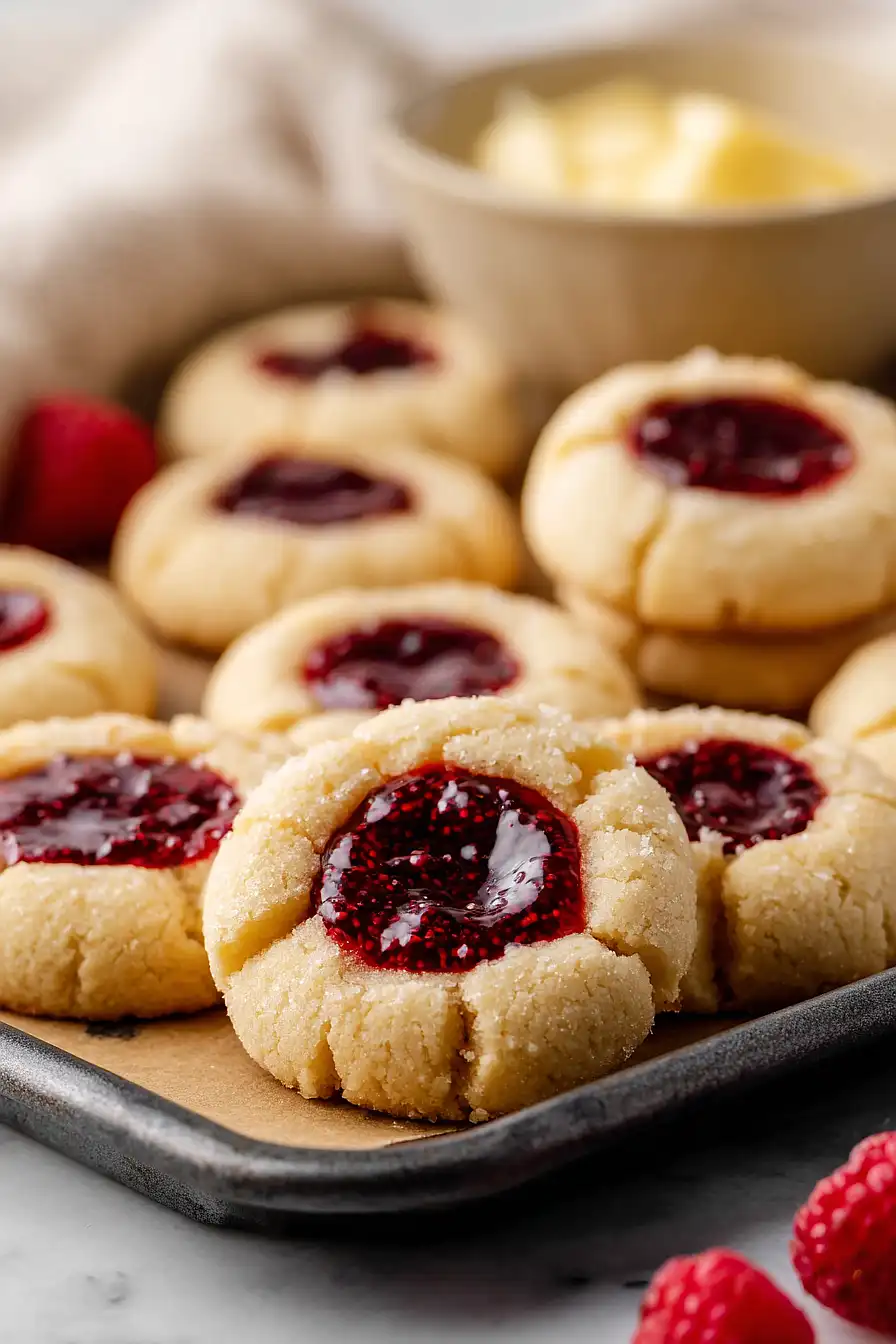
Delicious Raspberry Thumbprint Cookies
Ingredients
Method
- Preheat your oven to 350°F and line baking sheets with parchment paper. In a large bowl, beat the softened butter and granulated sugar together for 3-4 minutes until the mixture is light, fluffy, and pale in color. This creaming process incorporates air into the dough, which helps create tender cookies with a delicate crumb structure.
- Add the room temperature egg yolks one at a time to the creamed mixture, beating well after each addition. Pour in the vanilla extract and almond extract, then mix until everything is fully combined and the batter looks smooth and well-integrated. Room temperature eggs emulsify better with the butter, creating a more cohesive dough.
- In a separate bowl, whisk together the all-purpose flour and fine sea salt. Add the dry ingredient mixture to the wet ingredients from Step 2 and stir until just combined—don't overmix, as this can develop too much gluten and make the cookies tough. I like to fold gently by hand for the last few turns to ensure I'm not working the dough more than necessary.
- Roll the dough into balls about 1 inch in diameter and place them about 2 inches apart on the prepared baking sheets. Using your thumb (or the back of a small spoon), press gently into the center of each ball to create a shallow well, being careful not to press all the way through to the bottom. I find that slightly dampening my thumb helps prevent the dough from sticking.
- Stir the lemon zest into the raspberry jam to brighten the flavor. Spoon about 1 teaspoon of the jam mixture into each thumbprint indentation, being careful not to overfill as the jam will spread slightly during baking. Bake for 12-15 minutes, until the cookies are set but still slightly soft, and the edges are just beginning to turn golden.
- Remove the cookies from the oven and let them rest on the baking sheet for 10 minutes—this allows them to firm up enough to handle without breaking apart. Transfer the cookies to a wire cooling rack to cool completely. The residual heat on the pan will continue to set the cookies gently.